In the world of gaming, having the right setup can make all the difference. Building your own gaming PC not only allows you to customize your hardware to fit your specific gaming needs, but it also provides a sense of achievement. Whether you’re a casual gamer or a competitive player, understanding how to build a gaming PC can enhance your gaming experience significantly. This guide will walk you through the essential components, considerations, and steps involved in creating your ultimate gaming machine.
Understanding the Basics of PC Building
Before diving into the actual building process, it’s crucial to understand the fundamental components that make up a gaming PC. The primary parts include the CPU (Central Processing Unit), GPU (Graphics Processing Unit), RAM (Random Access Memory), motherboard, storage (SSD or HDD), power supply unit (PSU), and a case to house them all.
The CPU is often considered the brain of the computer. For gaming, a powerful CPU is necessary to handle complex calculations and ensure smooth gameplay. On the other hand, the GPU is responsible for rendering images and graphics. A high-quality GPU can drastically improve your gaming visuals and frame rates.
RAM is essential for multitasking and overall system responsiveness. Most gaming setups require at least 16GB of RAM, though 32GB is becoming increasingly popular for more demanding applications. The motherboard serves as the backbone, connecting all components and allowing communication between them.
Choosing the Right Components
When selecting components for your gaming PC, compatibility is key. Not all parts will work together, so it’s important to check specifications. Websites like gaming PC builder can help you ensure that your chosen parts are compatible.
Begin with the CPU and GPU, as these two components will largely determine your gaming performance. Popular CPU choices include AMD Ryzen and Intel Core series, while NVIDIA and AMD are the leading brands for GPUs. Once you’ve decided on these, you can choose a motherboard that supports them and offers the features you need.
Storage options also play a significant role in gaming performance. SSDs (Solid State Drives) are generally faster than traditional HDDs (Hard Disk Drives) and can significantly reduce load times. For gamers, a combination of SSD for the operating system and an HDD for additional storage is often the best setup.
Assembly: Step-by-Step Guide
Once you have all your components, the assembly process can begin. Start by preparing your workspace, ensuring you have the necessary tools such as a screwdriver and anti-static wrist strap. It’s also advisable to work on a non-static surface to avoid damaging the components.
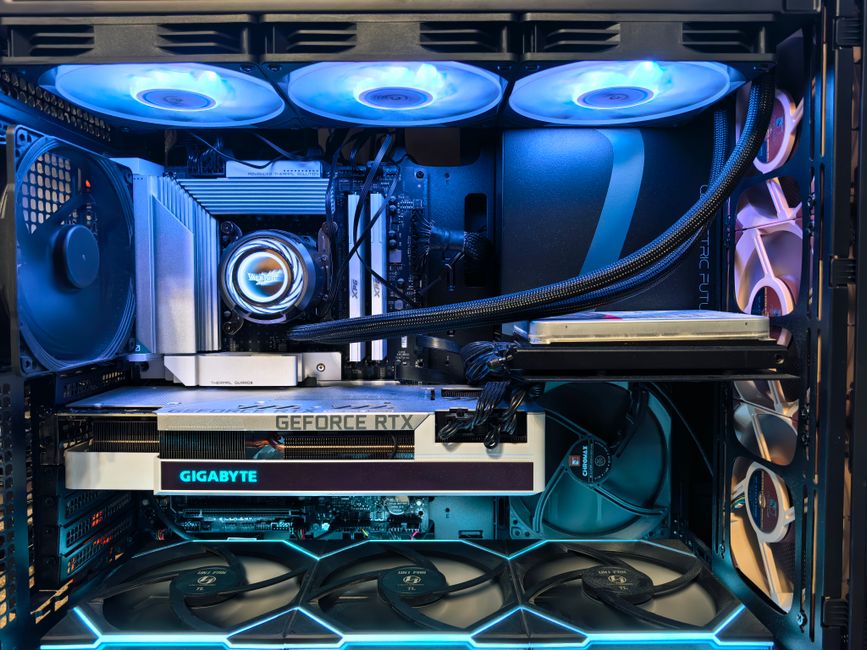
Begin by installing the CPU onto the motherboard, followed by the RAM. Next, install the motherboard into the case. Be sure to secure it properly with screws. After the motherboard is in place, install the GPU into the appropriate PCIe slot.
Once the components are secured, connect the power supply to the motherboard and other components. Finally, connect any storage drives and ensure all cables are managed neatly to promote airflow within the case. After everything is connected, close up the case and power on your new gaming PC.
Installing the Operating System and Drivers
With the hardware assembled, the next step is to install your operating system. Most gamers prefer to use Windows due to its compatibility with a vast array of games. You can create a bootable USB drive with the Windows installation media and follow the on-screen instructions to install it.
After the operating system is installed, it’s crucial to update your drivers. This includes graphics drivers, which can greatly affect gaming performance. Visit the manufacturer’s website for your GPU to download the latest drivers. Regular updates can also enhance system stability and provide new features.
Additionally, consider installing software for monitoring system performance, such as temperature and usage statistics. This can help you keep an eye on your system’s health and performance levels during gaming sessions.
Optimizing Your Gaming Experience
After your gaming PC is up and running, there are several ways to optimize your setup for the best gaming experience. Adjusting in-game settings can significantly enhance performance and visuals. Lowering certain settings can improve frame rates, making your gameplay smoother.
Moreover, consider investing in quality peripherals such as a gaming mouse, keyboard, and monitor. A high refresh rate monitor can enhance your gameplay, while a mechanical keyboard can improve your responsiveness.
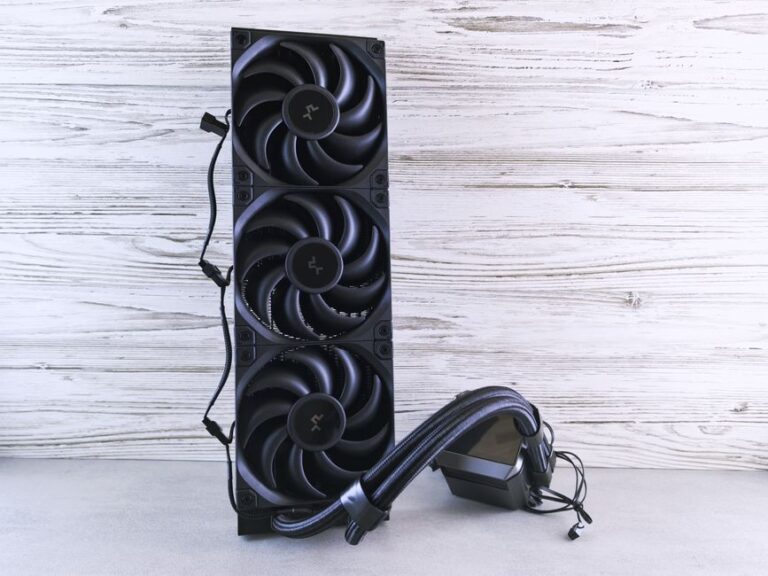
Lastly, keep your system clean and regularly check for dust accumulation inside the case. Proper airflow and cooling solutions, such as additional fans or liquid cooling systems, can extend the lifespan of your components and maintain optimal performance.
Conclusion
Building your own gaming PC can be a rewarding journey that empowers you with the knowledge and skills to customize your gaming experience. By understanding the components, choosing the right parts, and following a systematic assembly process, you can create a powerful machine tailored to your gaming needs. Remember, the gaming world is constantly evolving, so staying informed about the latest technologies and upgrades will keep your setup competitive. Happy gaming!